How to Box up a Concrete Slab
Are you planning on a new concrete driveway this year and wondering what your concreters are going to do? Then wonder no more! In this blog post, you’re going to learn about preparing for a concrete slab to be poured from start to finish. Let’s get started.

A Step-by-Step Guide to boxing up a Concrete Slab
Pouring a slab made of concrete is not difficult, but it’s not something you can do on your own unless you already have extensive concreting experience. It’s best to hire a professional concrete contractor instead to prevent messing it up.
But first, check out the tools and supplies we use to form a concrete slab.
- A tape measure and can of spray paint to measure the slab length and area
- A string line to ensure that the sides are straight
- A spirit or laser level and a leveling rod to ensure that the slab is at grade
- 2″ x 4″ wood boards
- A power drill or an impact drill to screw wood boards
- Concrete stakes to hold wood boards in place
- A carpenter pencil to mark wood boards
- A tamper to level the slab area
- A hammer to drive concrete stakes to the ground
- Steel reinforcement bars and twist ties
- A concrete screed
- A concrete come along rake to spread the concrete evenly
- A concrete float to ensure that the surface is smooth
- A mag (magnesium) float to ensure that the edges are smooth
- A pair of work gloves
- A pair of concrete boots
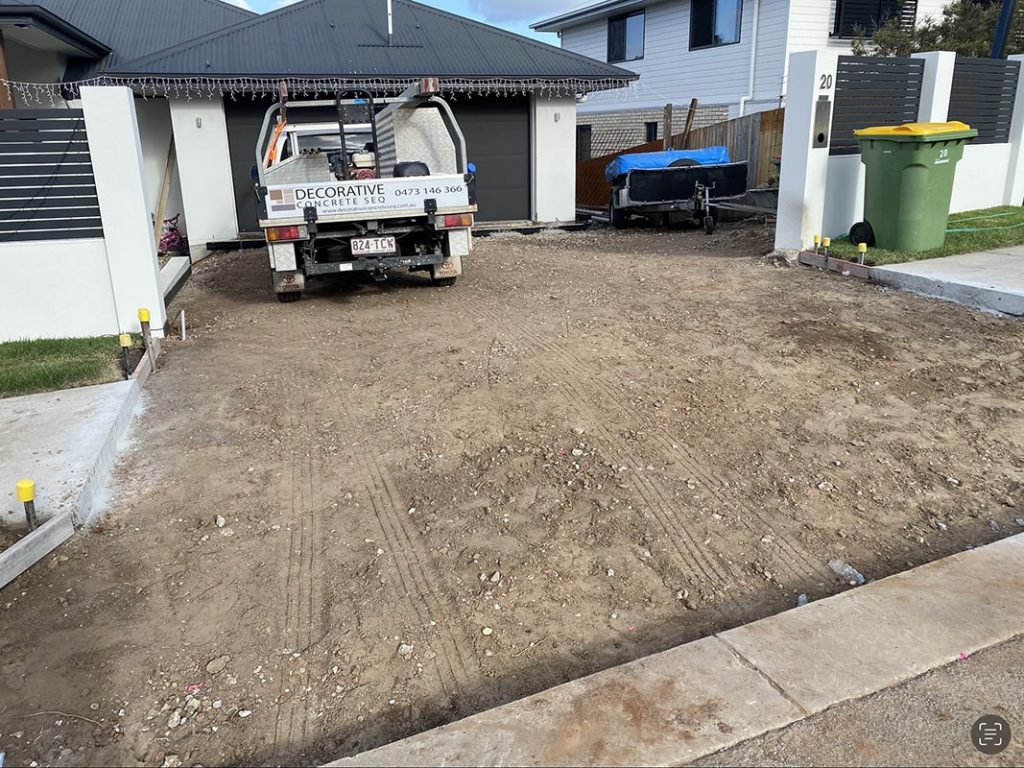
Before you start preparing to box up the area where you are going to pour the concrete, you must dig out the soil to the required depth and level you need. You must also prepare and install any required drainage pipes

Step 1: Measure out the area where the concrete slab is going to be poured. Use a can of spray paint to mark out the perimeter.
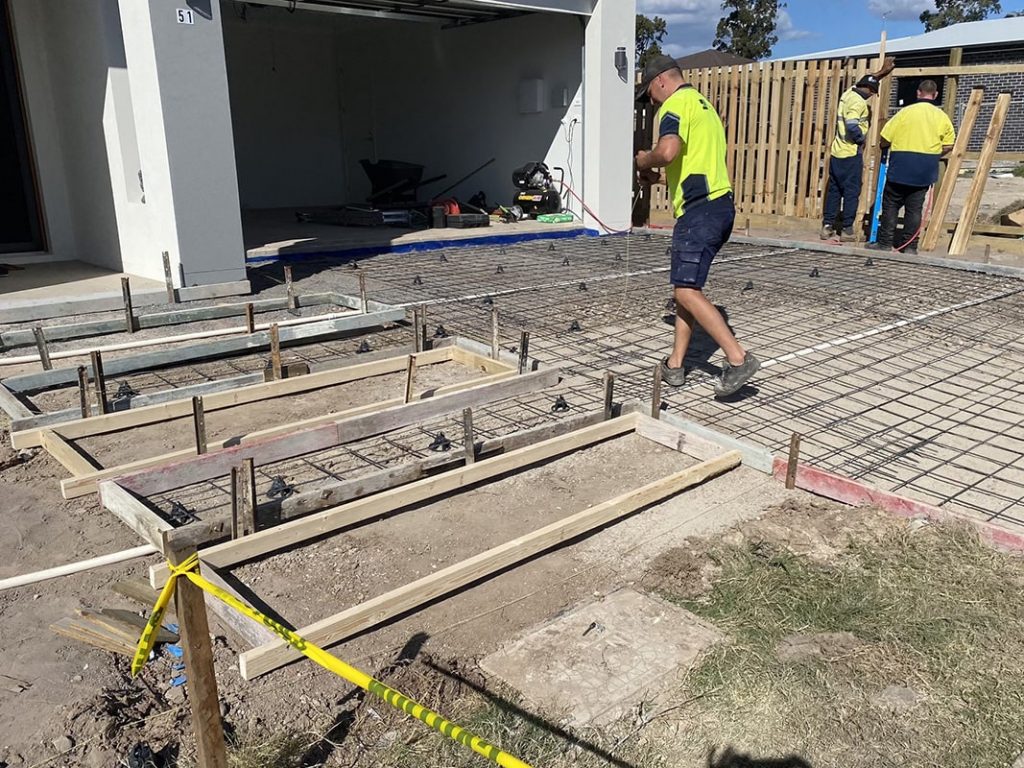
Step 2: Cut wooden boards to enclose the area where the slab is to be built. Next, we’re going to fix the edges of the boards together using a power drill or impact drill. These boards will be used to hold in the concrete.
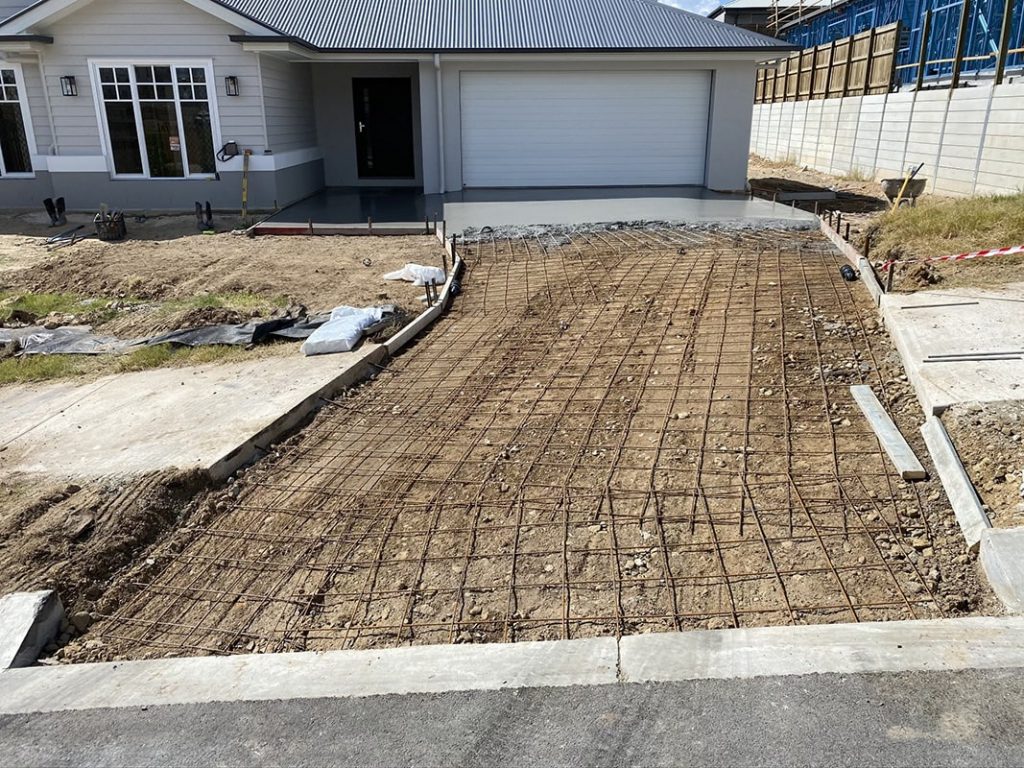
Step 3: It’s time to make sure that the perimeter to be concreted is completely surrounded by the wooden boards. Once this is done, we’re going to hammer concrete stakes in place (two or three feet apart) and fix the wooden boards to the stakes. Also make sure that the sides of the perimeter are level using a spirit level or a laser line level.

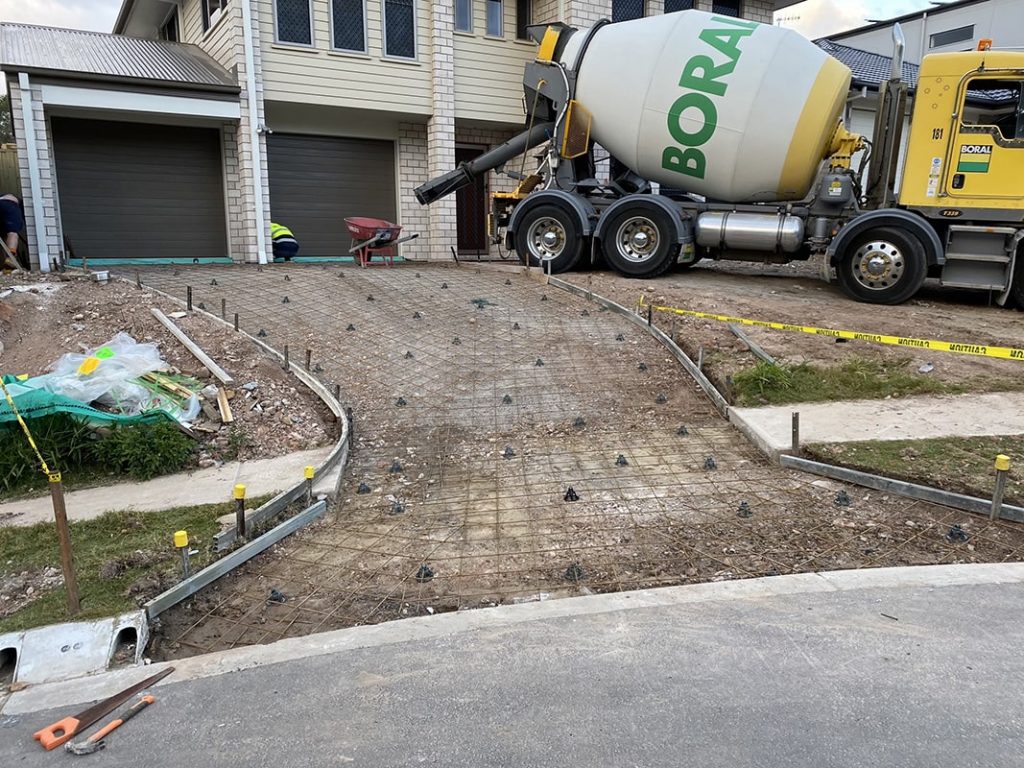
Step 4: Next, we’re going to compact and level the slab area and lay out some steel reinforcement mesh to reinforce the slab. Twist ties and plastic reinforcing bar chairs ensure that the steel reinforcing mesh stays in place off the ground.
Step 5: Call your local concrete supplier and pour the mixed ready concrete on the slab area and spread it out evenly.

Step 6: We’re going to level the surface using a screed and use a bull float to smoothen the slab’s surface. We’re going to take an edger or mag float to round the edges of the slab.
Step 7: Allow the slab to cure and harden for 5 to 7 days before driving a car on it.
Need to have a concrete slab built on your property? Then give us a call at 0473 146 366 or 0478 033 363 for any queries or quote requests.
